How to make a Prototype?
If you are reading this you likely have a product idea in mind, maybe some sketches, drawings, or models. You now want to take the design work to the next step and create a prototype. The prototype can be used for many things, here are a few examples:
- validating the product idea for yourself (i.e., testing if it works)
- showing the product idea to potential investors (e.g., giving them something to hold during your investment pitch)
- safety testing (e.g., electrical safety)
- preproduction validation for regulatory submissions for Health Canada and the FDA (e.g., for medical devices)
How much does a Prototype cost?
Depending on the intended use of the prototype, the cost can vary dramatically. Prototypes can range from:
- Craft-like (e.g., using pipe cleaners, cardboard, and hot glue)
- Functional yet rough (e.g., using plywood and screws)
- Non-functional but aesthetically representative of a finished product
- Preproduction quality (functional and representative of a finished product)
They also vary widely depending on the type of product you are prototyping. For example, prototypes for electromechanical products are generally going to cost more than prototypes for purely mechanical products.
We suggest that before spending a lot of money and time on a prototype, you first perform your due diligence on your product idea. One of the most important due diligences you must perform is to confirm your idea does not infringe on anyone else’s patents. If it doesn’t, then you can continue your product strategy due diligence (market research, etc.) and then file a patent application.

How do I patent an idea in Canada?
There are two main patents we care about when it comes to product development:
Design Patents and
Utility Patents.
Design Patents
are useful in protecting your implementation of an object. Nike might have design patents that cover each one of their shoe designs, and so would Adidas. Usually, these patents have lots of diagrams describing the design aspects that are being patented. If another person copies this patent 90% and only differs from the design aspects specified in the patent, they would not be infringing on the patent. Therefore, design patents are easy to get around by just changing a few inconsequential design characteristics.

Utility Patents describe the function of a product. I.e., if someone has a utility patent for a shoe it might be described as “An object that wraps around a foot” If Nike has a patent for this – nobody else would be allowed to profit from such an object. It would be a very lucrative patent to have since it would be hard to design a shoe that doesn’t wrap around a foot.
For this reason, utility patents are usually much more valuable than design patents.
Keep these core concepts in mind when searching to see if your product idea is patent protected and when considering patenting your product ideas for yourself.
To learn more about patenting product ideas and searching for patents already issued, we suggest you consult
“File a Canadian patent application: Before you start”
How do I create a product prototype?
You have identified that your product idea is new, not patented by someone else, and you have started down the path of patenting it for yourself. Now is the time to start making and testing more serious prototypes.
As described in the introduction, prototype development costs and effort can vary widely. Depending on the intended use of the prototype, you may be able to save a lot of money by doing it yourself with the materials you have around.
Once you start needing to produce prototypes for investors, preproduction validation, or safety testing, you’ll have to get some more rigorous design work in order.
Investor prototypes are usually geared toward showing that the product can work, and that the product can be pretty.
Often early on, you can show these two aspects using two different prototypes, a functional ugly prototype, and a non-functional pretty prototype.
Safety test and preproduction validation prototypes should be representative of what you are intending to sell.
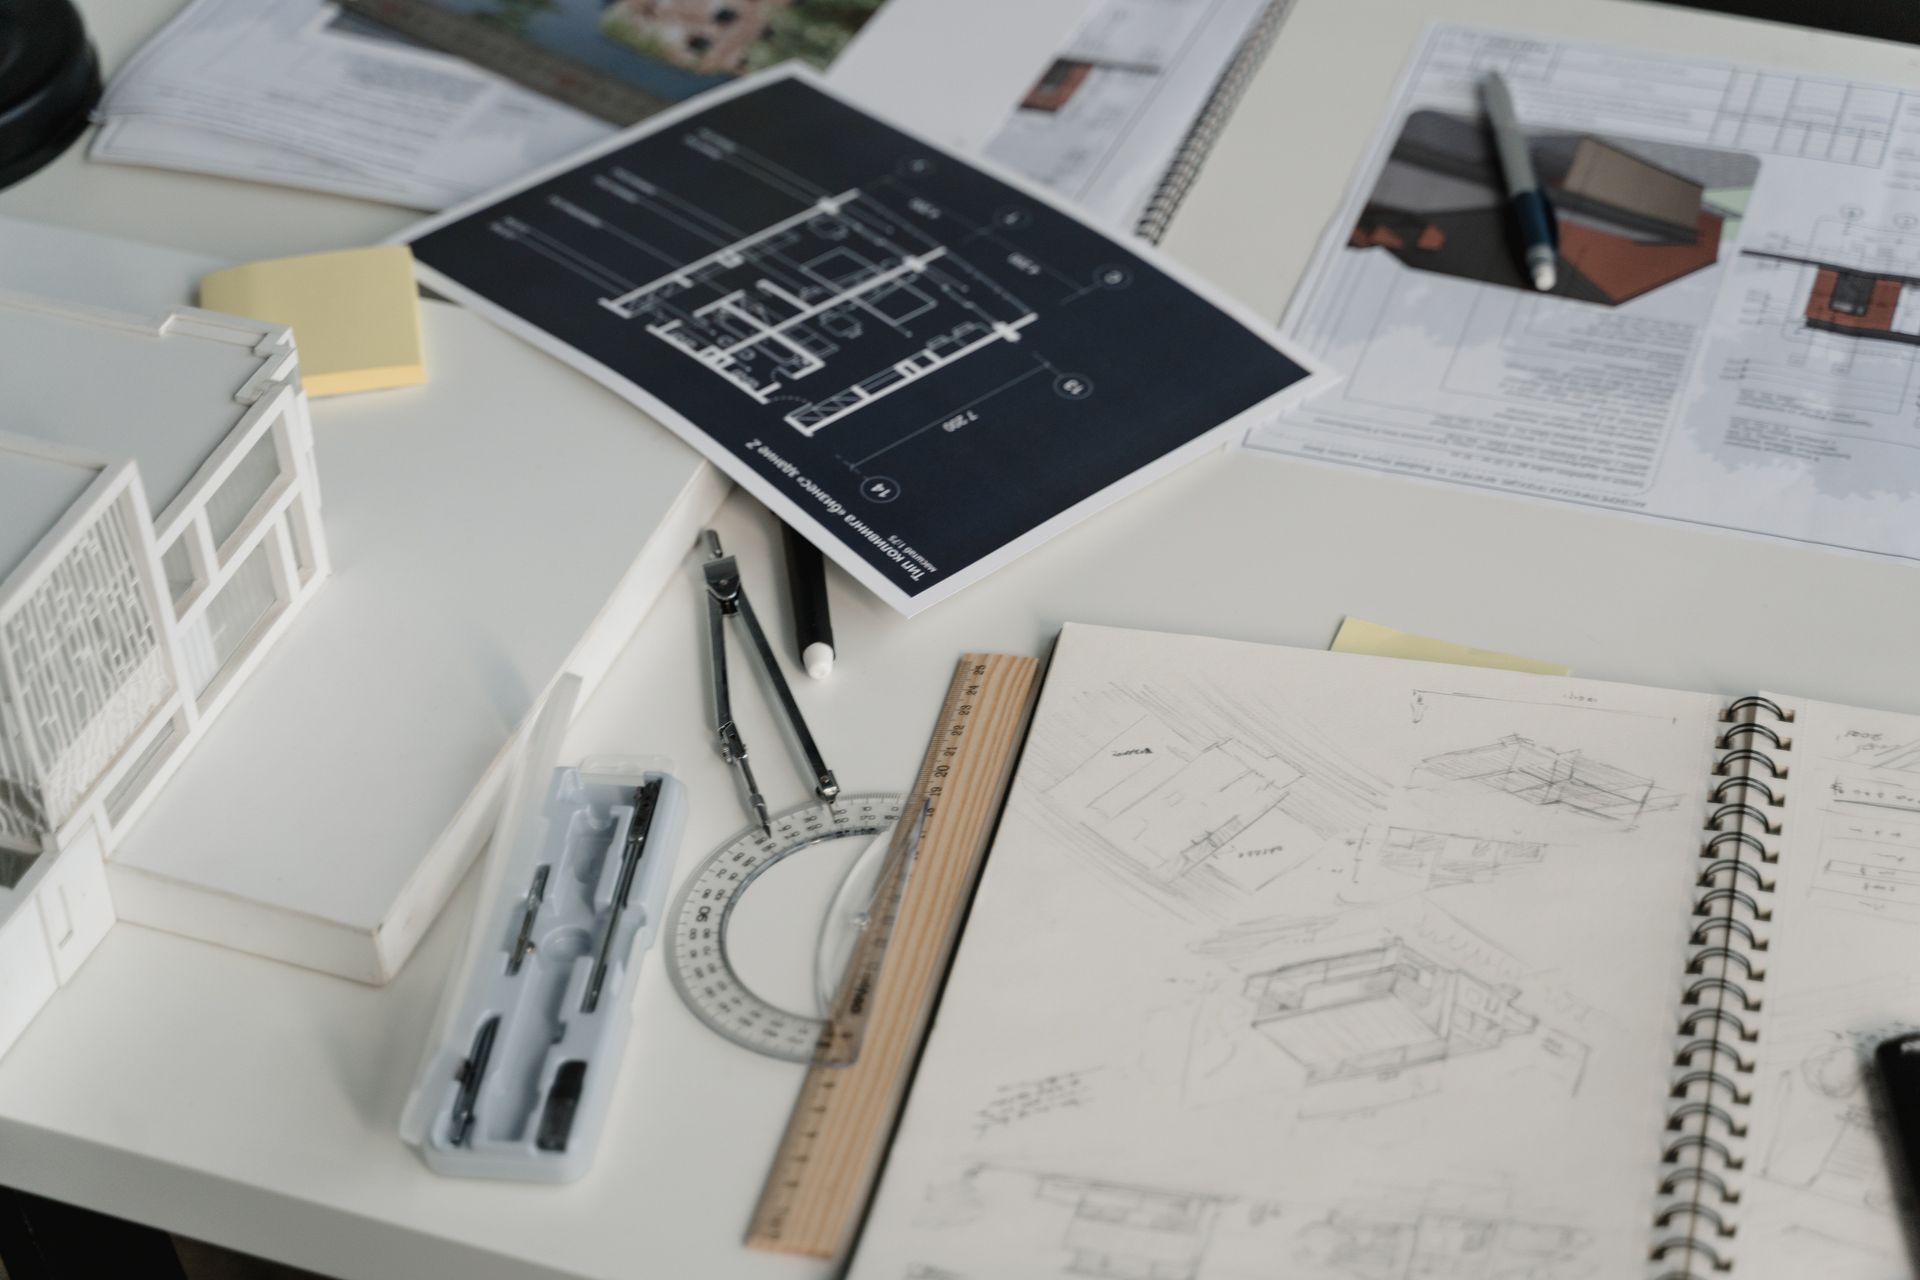
To make these prototypes, you will need to create some design files:
- CAD files – 3D part files for custom metal work and rapid prototyping of plastic parts.
- Drawings – most metal shops will require drawings in addition to the CAD files, these drawings call out important dimensions, materials, coatings to use, and other part-specific requirements.
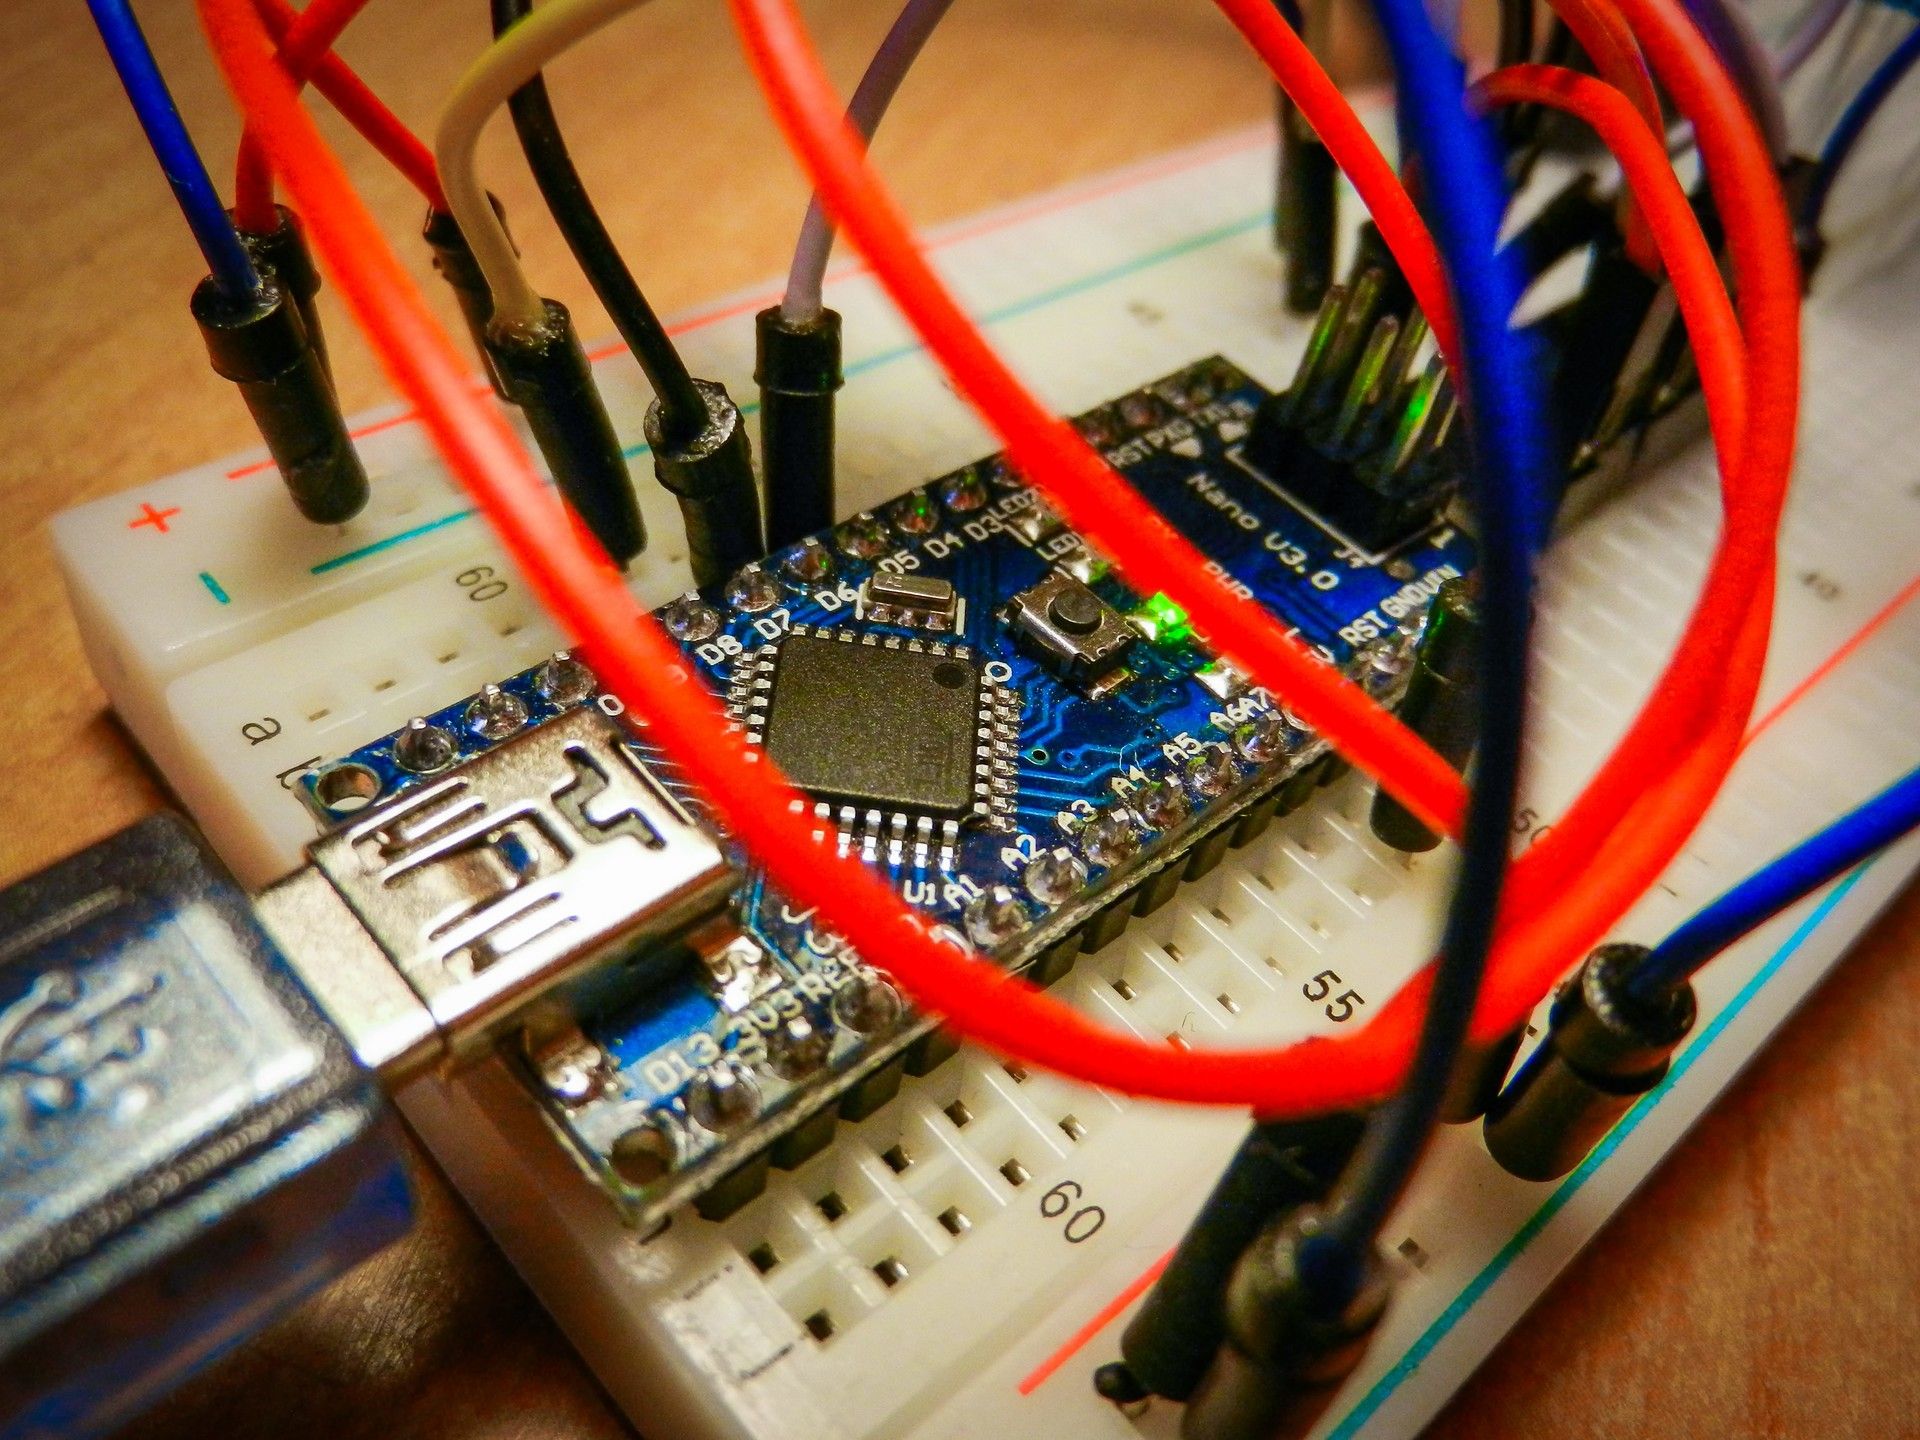
- Gerbers – electronic circuit board files if you have a custom circuit board in your prototype.
- Bill of Materials (BOMs) – If you want a manufacturer to build anything out of a bunch of items, you must provide a list of those items in a BOM. You may have many BOMs that describe how to make each one of your assemblies. E.g., one for your custom circuit boards, one for a mechanical sub-assembly, and another for the completed product.
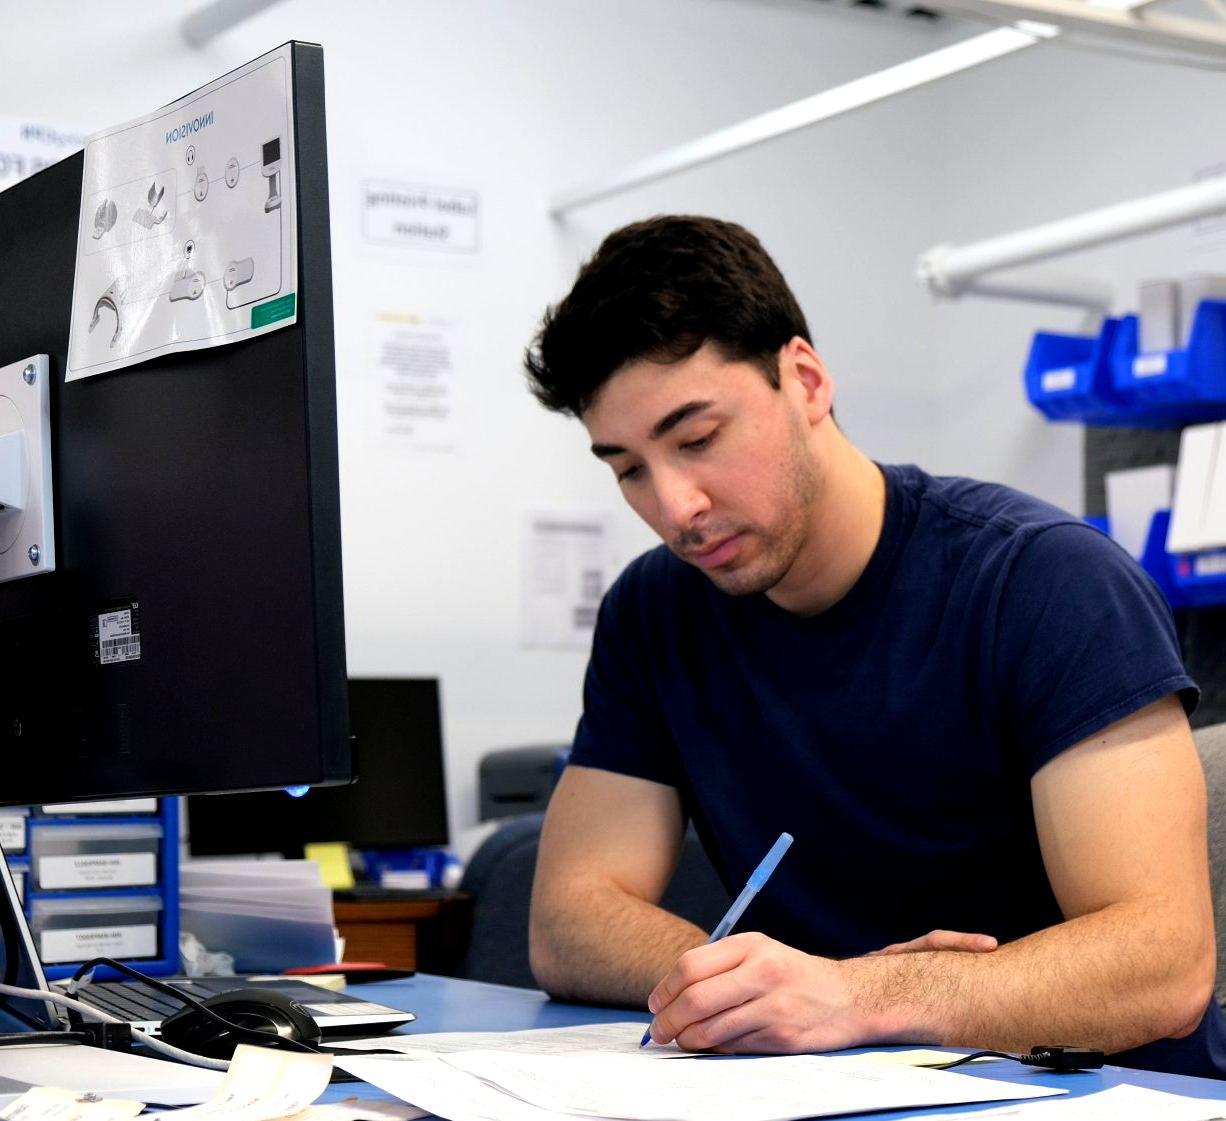
- Assembly and Test Instructions
– If you want someone else to assemble and test your prototype or parts, you will need to communicate how to do so. Assembly and test instructions can be simple to start (a word document listing the steps) and become more detailed as you get closer to production.
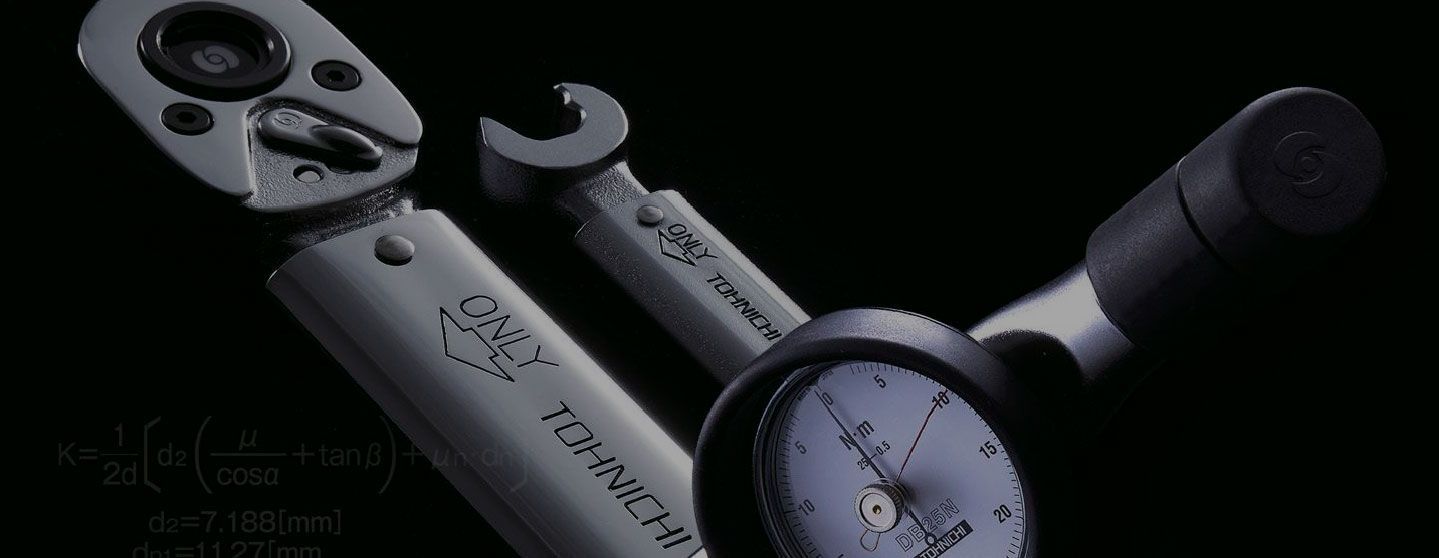
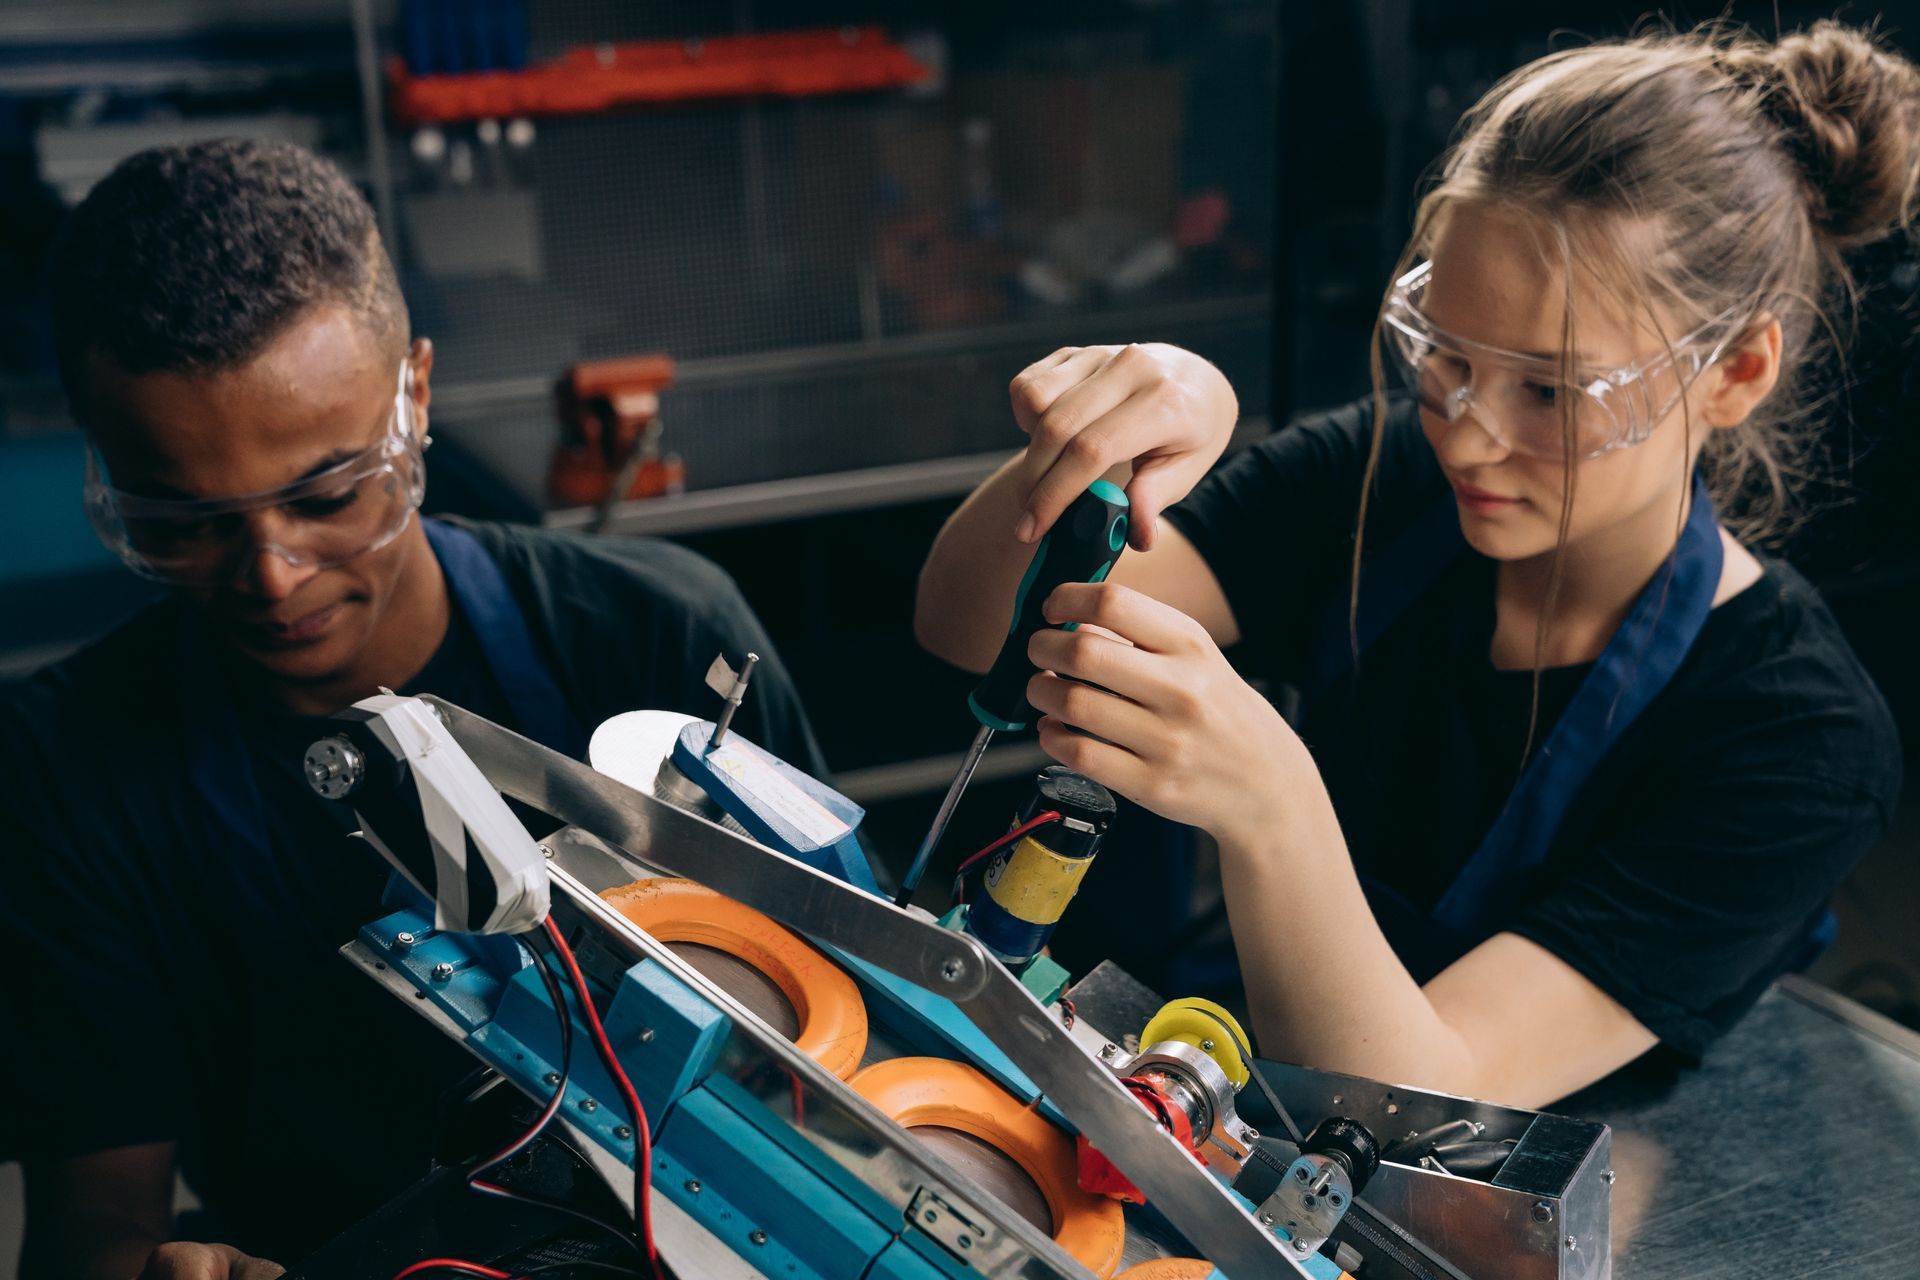
Industrial Prototyping
Next, you will need industrial suppliers for the various parts of your prototype or a turnkey supplier that will make your whole prototype for you. You will send them your design files listed above and they will provide a quote to do the work. Some things to consider:
Building low quantities of parts often have a high unit cost. Prototype costs are therefore not a good indicator of production costs.
Depending on your application, it may be okay to just find anyone with a metal bender, rapid prototyping abilities, or a workshop to make your parts for you.
For higher-risk parts (electronics) or for medical device applications you should properly source reputable vendors. Common certifications to look for are ISO 9001 for general industrial prototyping and ISO 13485 for medical device prototyping.
When working with reputable suppliers, the “quality” of your parts will depend heavily on your part specifications. For example, if you want a supplier to take sharp edges off your parts, you must tell them to deburr the edges in your drawings. Do not leave anything up to assumptions.
Larger, more reputable suppliers don’t like making small quantities of parts for someone they don’t know. They are often interested in what is in it for them in the long run, so try to paint a picture of your intended production volumes for them. E.g., “we expect to make 100 per month once we get into production”.
If you are still not getting anywhere with part suppliers, they may be too big for you, or you may need to partner with a turnkey prototype manufacturer that will build the whole thing for you. Turnkey manufacturers already have relationships with part suppliers that they can leverage.
Your Next Steps
Now you’re ready to build your prototype and show how great your idea is! Whether you are designing and building by yourself or working with a
Product Development company. The key steps you have just learned about can help you commercialize your product quickly and on budget.